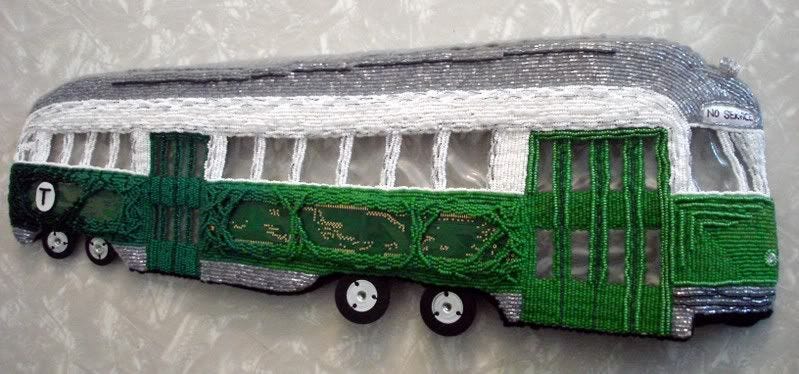
>The T
>
Constructing a 3D beaded Boston Green Line trolley is a slow process! Here's what I've accomplished since my last post:

First, I used felt to stitch my matte board supports into place. In the past, I used velcro to attach matte board but, it is difficult to stitch velcro into place, so this time I avoided it altogether. I didn't even use any glue, either. I just cut a piece of felt large enough and stitched it right over the piece of matte board. And, since the front end of the train is now almost 2" deep, I also stitched some pieces of gray and black felt to the top and bottom edges of the train to hide the space when it is finally attached to my stretched canvas.
Then, I stitched my trolley wheels into place. These are made from a set of rubber washers and T-nuts I found at the hardware store. Turns out, they are perfect because I was able to stitch right through the soft rubber with my beading needle! :D

Also today, I created the T sign for the body of the train. I simply cut out two pieces of black & white vinyl and beaded the T with size 15 matte black seed beads. The sign will be attached to the circuit board with some E-6000 glue.

Next, I think I might edge the top of the train with some more silvery-gray beads to cover the gray felt. Like the real T, this one is slowly getting there... :o


