>Nuts & Washers
>
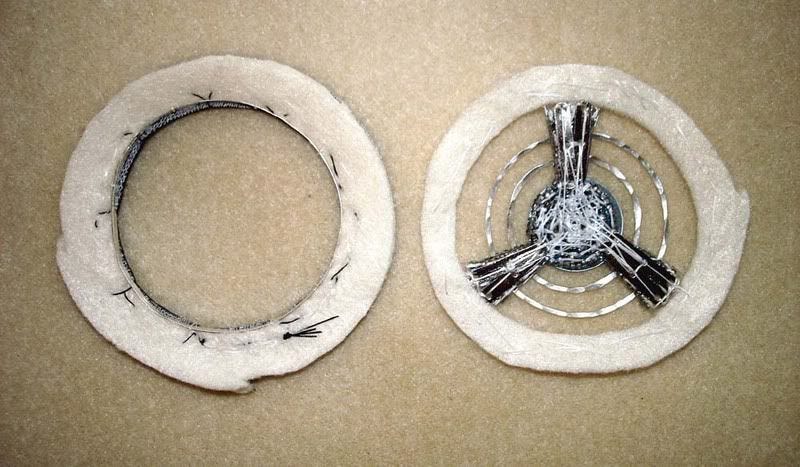
After much thought about how to go about building beaded motorcycle wheels, I dug through some hardware that I keep in a junk drawer in my kitchen. There I found some zinc interior tooth lock washers. I don't really know why I had them, but I thought they might look cool. So, I stitched one onto the center of the wheel on top of the other seed beads.

Then, I stitched the hammered sterling silver rings into place. I used some tiny nuts I had to raise up the center ring. I found those at the electronic store when I was working on my beaded Delorean! (In the last photo, you'll notice that I used even more of these on the rear wheel!)

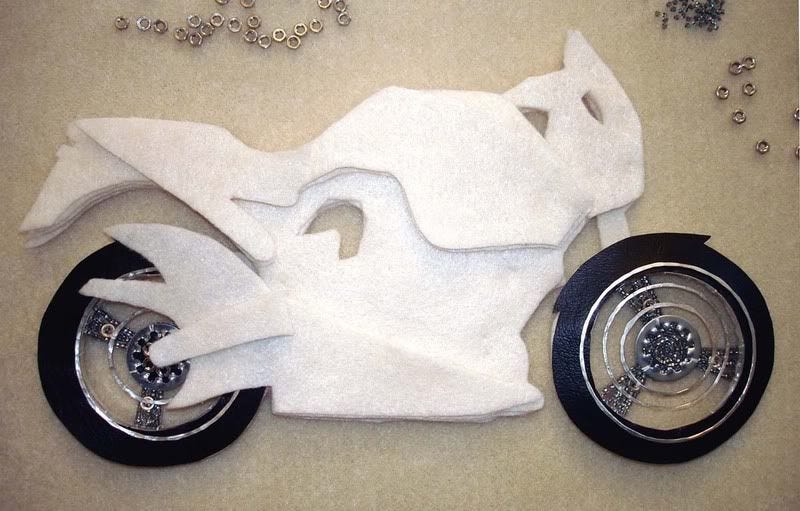
Also, it was a good thing I used those 3-hole spacers. I needed the center holes to stitch through! Not to mention they stiffen the entire piece, especially after I cut out the excess vinyl! It actually works quite well! Then, I stitched my sterling silver bezel wire to the inside of the tire, and I stitched my black pieces of vinyl to that. I repeated this process for the rear wheel, although the larger outer rings are not stitched on yet. Here's how it looks:

Semi-beaded Buell motorcycle. 10"wide x 6". Click to enlarge.
I was nervous about doing this a few days ago, but right now, I'm feelin' pretty good! Now, time to bead something for my Etsy shop. I also plan to start building yet another Squidoo lens. I built a new one for my Cafepress shop the other day. I do hope you'll stop by to check it out. Until next time, enjoy your weekend! :D


