>Beaded Bike Wheels
>
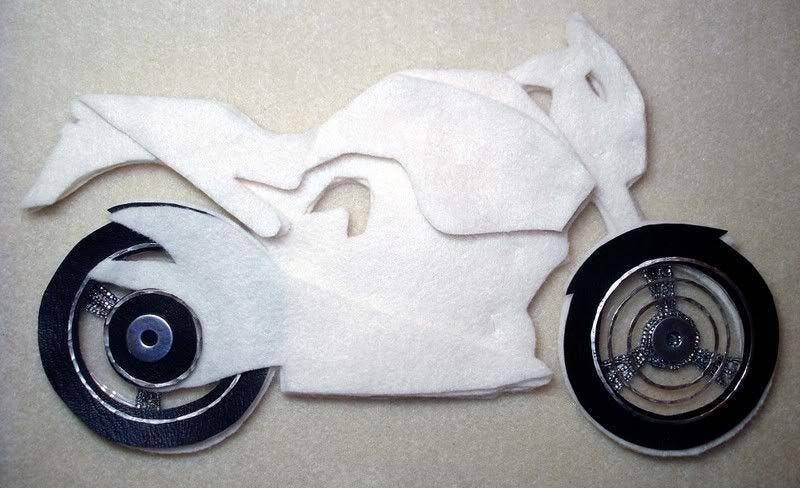
My kitchen table doesn't look much better since my last post. In fact, it's worse! It is covered with beads, metal parts, and felt! I am too embarrassed to show you, so I'll just show you the motorcycle I'm working on. :D

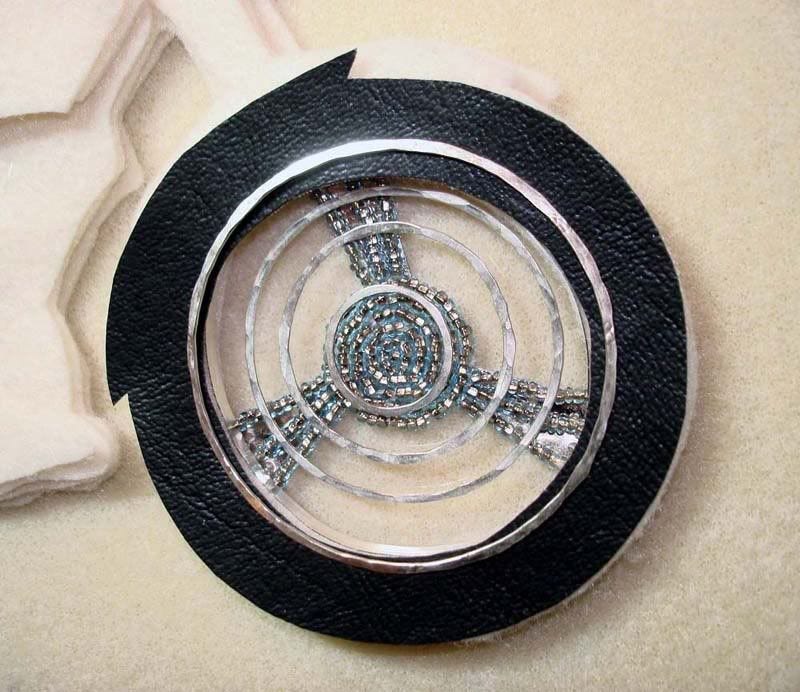
On every other vehicle, I start with the body, but for a motorcycle, I am starting with the wheels, because they are most complex. This particular bike is a Buell, however I'm not sure it will look like one when I'm done! As usual, I am beading on vinyl, but this is a much thicker one than I had been using for car windows. I didn't know if I could stitch through it at first, but I can make it work. My plan is to cut out the excess vinyl when I am done. (We'll see how that works!) Anyways, I'm using copper-lined transparent blue seed beads. I have also just realized that I can stitch onto the reverse side of vinyl as well! So, I stitched on some 3-strand metal spacers. These are usually used to make 3-strand bracelets or necklaces, but they look much cooler on a beaded motorcycle! Here is the reverse side:

And, here is the front. You can see the metal spacers in between the rows of beads. I like them because you can see their holes pretty well when you hold the piece up to the light! Also, take a look at the inside of the tire. I was trying to figure out what I would do to make it look more realistic, and then I remembered I had some 28g pure silver bezel wire in my bead stash! I got that last year with my awarded gift certificate to Art Clay World. I figured I might need it for car moldings or something. Turns out it's perfect to wrap around the inside edge of a motorcycle tire!

Now, I have to figure out how I'm gonna put it all together! :o

Semi-beaded Buell motorcycle. 10"wide x 6".


